English
 中文简体
 русский
 Español

A car contains hundreds of molded components—brackets, clips, housings, trim pieces, underhood covers—and each one begins as plastic pellets fed into a machine. Automotive injection molding is the process that turns those pellets into parts that fit, hold, and survive vibration.
Melting and Metering the Resin
The process starts at the hopper, where pellets drop into a heated barrel. Inside the barrel, a rotating screw conveys the resin forward while shear and barrel heat soften it into a melt. The screw then retracts as it rotates, accumulating a measured shot of molten plastic in front of its tip. That shot volume is set precisely, because an undersized shot leaves a short part and an oversized one wastes material and risks flashing.
Automotive work often involves engineering resins—glass-filled nylons, polypropylenes with mineral fillers, ABS blends—chosen for stiffness, heat resistance, or impact behavior. These materials are more abrasive and more sensitive to moisture than commodity plastics, so drying and barrel temperature control become part of the daily routine. A factory that logs drying conditions per material is protecting the mechanical properties the buyer specified.
Filling the Mold Cavity
With the shot ready, the screw drives forward and pushes melt through the sprue, runners, and gates into the cavity. Injection speed is a key setting: too slow and the melt cools before reaching the cavity's far end, producing short shots; too fast and the material may jet, trap air, or shear-degrade.
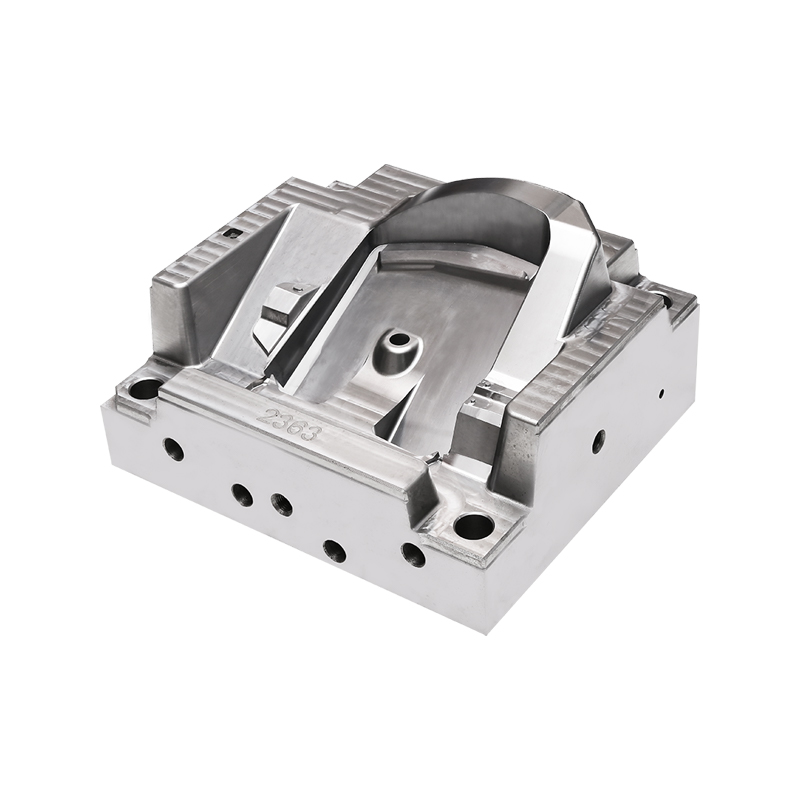
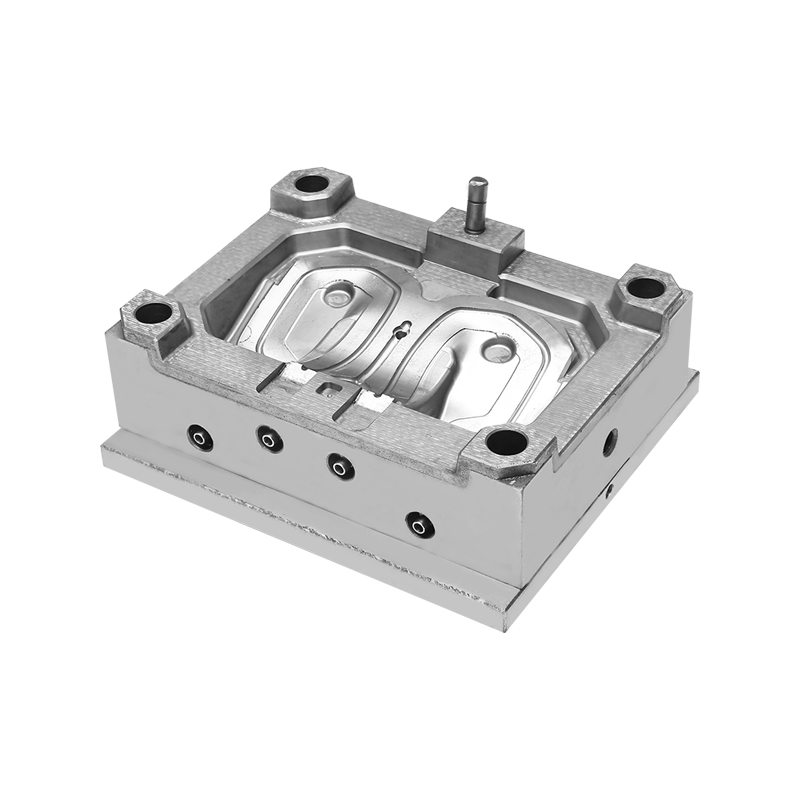
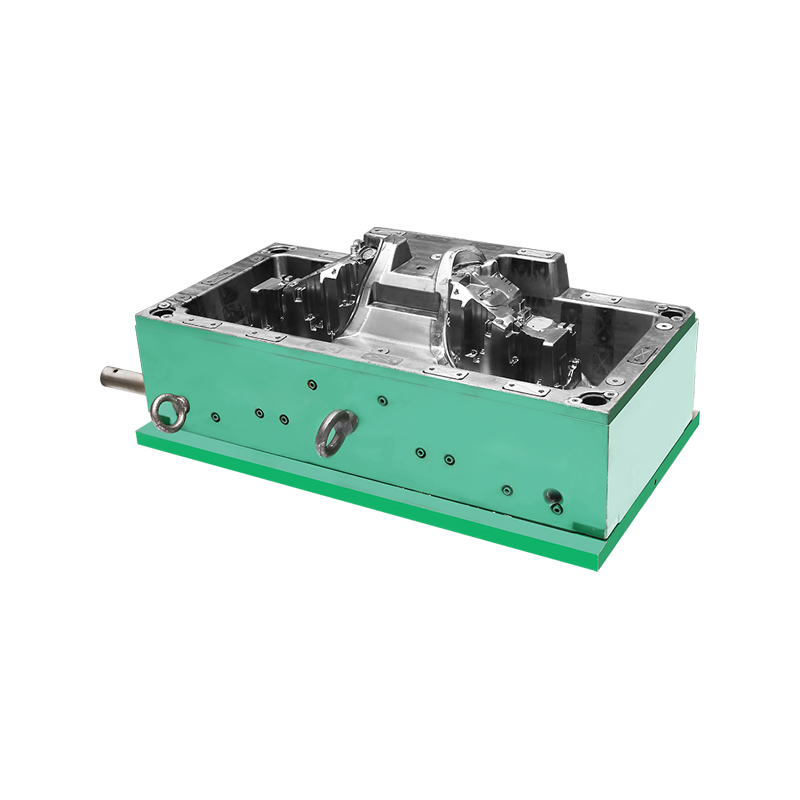
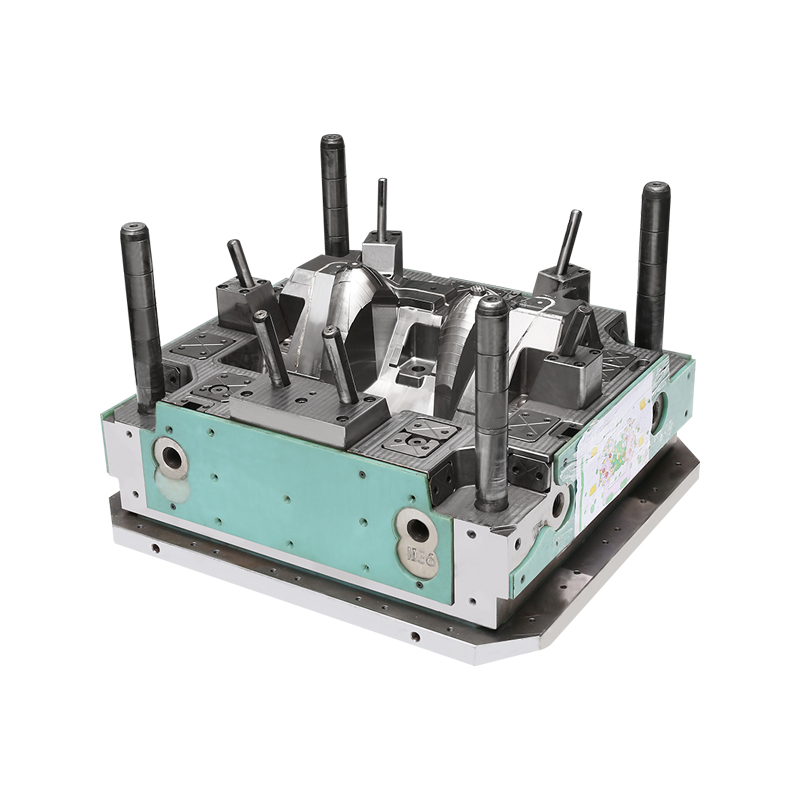
Automotive injection molding frequently uses multi-cavity tools or family molds that produce several related parts in one cycle. Gate placement in these tools is a design decision that affects weld line location, dimensional stability, and cosmetic appearance. Buyers reviewing a tool design benefit from asking where gates sit and why, since gate position shapes both part strength and surface quality.
Cooling: Where Cycle Time Is Decided
Cooling channels run through the mold to pull heat from the plastic. The efficiency of this heat removal shapes cycle time, and cycle time shapes cost. Parts with uneven wall sections cool at different rates, and that differential produces warpage if the tooling and cooling layout do not account for it.
For automotive components, warpage is a practical concern because a bracket that bows will not seat correctly during assembly. Tool designers address this through conformal cooling layouts, baffles, and careful gate positioning. Buyers can ask how a supplier validates flatness on molded parts and what they do when a part drifts out of tolerance across a production run.
Clamping Force and Machine Selection
The clamp holds the mold closed against injection pressure. Clamping force must exceed the separating force generated inside the cavity, or the tool will open slightly and flash will form. Machine selection follows from part size and projected area: a large flat component demands more clamping force than a compact bracket.
Buyers evaluating a supplier's capacity can ask which tonnage machines handle their parts and how the factory matches tools to presses. A supplier who routes each job to an appropriately sized machine avoids the two failure modes of oversized presses running small tools and undersized presses straining at their limit.
Understanding these stages gives buyers a vocabulary for conversations with molders. Automotive injection molding is a process of controlled variables, and a factory that can explain its settings, its tooling decisions, and its handling routines is describing how it delivers parts that assemble without rework.